
2 posts tagged with "security"

View All Tags

· 3 min read
Josh Twist

If you have used React in the last few years you can't have avoided the useEffect react hook. It's the Batman to your Robin, the Han Solo to your Chewbacca, of the React world.

If you're unfamiliar, the useEffect hook in React is used to handle side-effects in functional components. It allows developers to perform operations such as fetching data from APIs, subscribing to events, and setting up timers. The hook runs after every render or change to dependent property, and provides a way to manage stateful logic in a relatively declarative way.

And therein lies the terror - a dependent property. It's all too easy to create a loop in React, where your useEffect causes a chain of changes that updates the dependent property which triggers your useEffect call, which causes a chain of changes that updates the dependent property which triggers your useEffect call, which causes a chain of changes that updates teh dep... you get the idea.

Here's a simple example

import React, { useState, useEffect } from "react";

function ExampleComponent() {
const [data, setData] = useState([]);

useEffect(() => {
fetch("/api/data")
.then((response) => response.json())
.then((result) => setData(result))
.catch((error) => console.log(error));
}, [data]);

return (
<div>
<ul>
{data.map((item) => (
<li key={item.id}>{item.name}</li>
))}
</ul>
</div>
);
}

export default ExampleComponent;

Note that the useEffect call declares a dependency on data but also updates that variable with setData. In most cases, these bugs are not so easy to spot and the loop is hidden by many different calls and a cascade of changes making it much harder to debug.

And notice, in this example we are invoking an API at /api/data. We just made a distributed DDoS machine. If you're lucky, this condition will always happen like in the sample above and you'll notice it immediately. If, as happened to me recently, the loop only happens when the app is in a very specific state nested in a bunch of if statements, it might make it to production. At that point, it only takes a small percentage of your user base to experience this bug for you to bring down a full DDoS on your API.

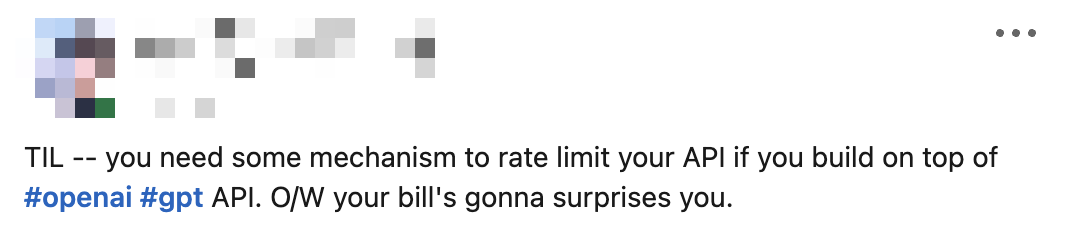
The reality is that you rarely need rate-limiting to protect from your enemies. It's nearly always your partners or in-house development team that will accidentally take your backend down. Unfortunately the nature of React and useEffect makes this more likely.

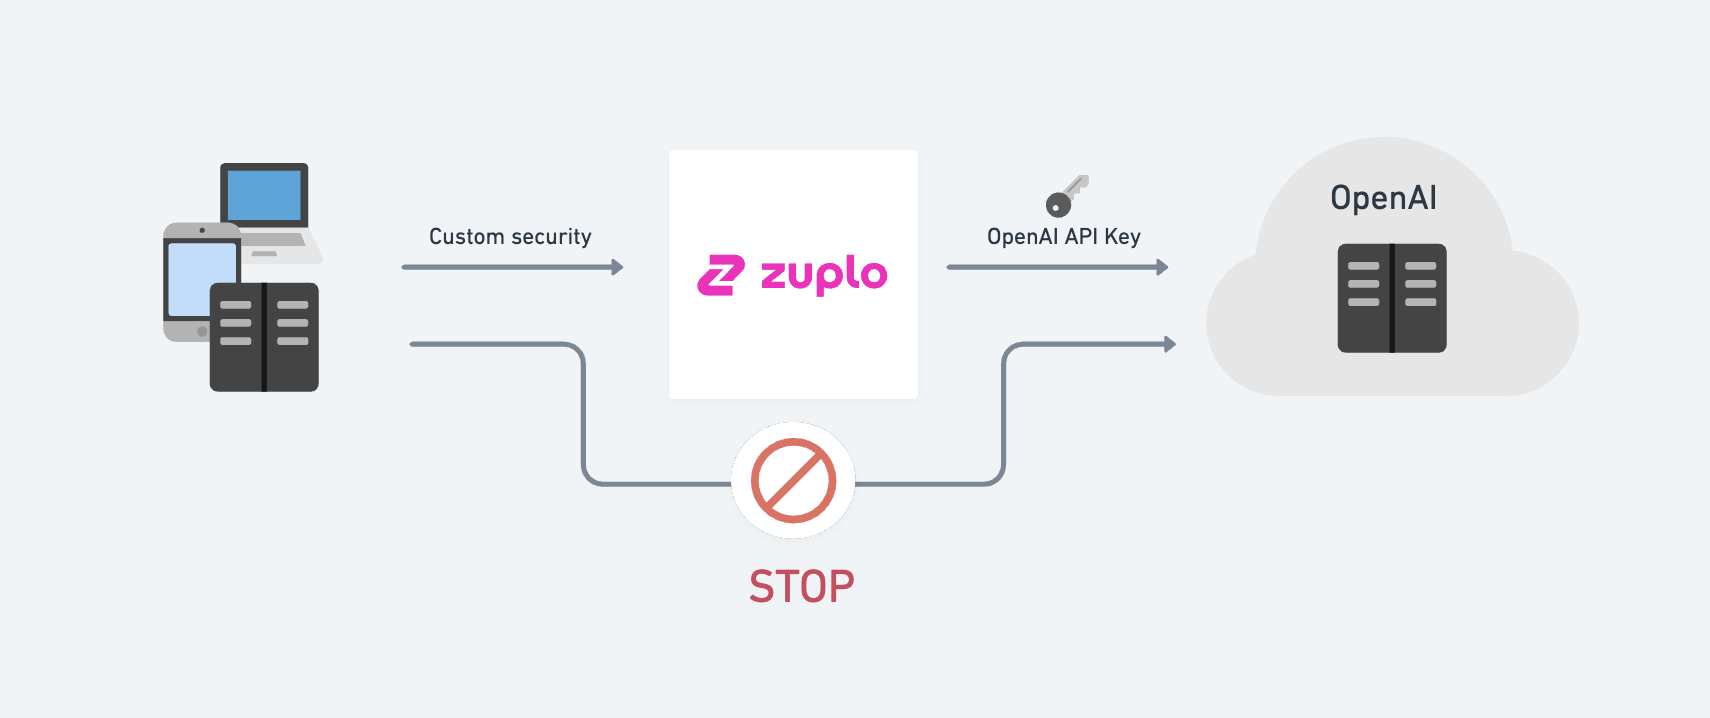
The good news is it's easy to protect yourself. You can help prevent performance degradation, reduce costs, and improve the overall user experience of your application by implementing a rate-limiting on your API. You can use an open source package like express-rate-limit or use a SaaS service like Zuplo which is fully-managed, multi-cloud and distributed (over 200 data centers worldwide) - see how to get started with rate-limiting using zuplo - you can start for free.

· 5 min read
Josh Twist

OpenAI is all the rage now and developers are rushing to leverage this technology in their apps and SaaS products. But such is the demand for this stuff, you might need to think about how you protect yourself from abuse - here's a post from a colleague I saw on LinkedIn recently:

LinkedIn comment

You can use a Zuplo gateway to store your API keys and enforce a number of layers of protection to discourage abuse of your OpenAI API keys.

How it works

Zuplo Gateway for OpenAI

Zuplo allows you to easily perform authentication translation, that is, change the authentication method your clients use. For example you might require your clients to use

  • JWT tokens
  • API Keys issued to each of your customers (different to your OpenAI key, so you can identify each individual customer)
  • Anonymously in a web browser — but ensure the call is coming from the right origin, enforce CORS and rate-limit by IP etc.

Setting up Zuplo to send the API Key

This is a CURL command to call the OpenAI API directly, note the need for an API KEY

curl https://api.openai.com/v1/completions \
-H 'Content-Type: application/json' \
-H 'Authorization: Bearer YOUR_API_KEY_HERE' \
-d '{
"model": "babbage",
"prompt": "Say this is a test",
"max_tokens": 7,
"temperature": 0
}'

To get started we'll create a simple Zuplo gateway that removes the need to specify the API key.

Create a new project and add a route:

  • Summary: My OpenAI Completions
  • Path: /v1/my-completions
  • Method: POST
  • CORS: No CORS
  • Handler: URL Rewrite - https://api.openai.com/v1/completions

Next, we need to add a policy that will set the authorization header when calling OpenAI. Open the Policies section and click Add Policy.

Add or Set Request Headers

Choose the Add or Set Request Headers policy. Set the policy configuration as follows

{
"export": "SetHeadersInboundPolicy",
"module": "$import(@zuplo/runtime)",
"options": {
"headers": [
{
"name": "authorization",
"value": "Bearer $env(OPEN_AI_API_KEY)",
"overwrite": true
}
]
}
}

Note that we will read the API Key from a secure secret stored as an environment variable - go setup your OPEN_AI_API_KEY env var.

Save your changes, and we're ready.

Take the above curl command and remove the authorization header and change the URL to your project URL:

curl https://open-ai-main-298dc8d.d2.zuplo.dev/v1/my-completions \
-H 'Content-Type: application/json' \
-d '{
"model": "babbage",
"prompt": "Say this is a test",
"max_tokens": 7,
"temperature": 0
}'

Look no API key 👏 - but your request should work fine as Zuplo will add the key on the way out.

Securing Zuplo

You now have several choices to secure Zuplo.

  1. Require your users to login (with a service like Auth0) and then use an Auth0 JWT with Zuplo.
  2. Issue API Keys to all your users using Zuplo's API Key Service.
  3. Host anonymously but add additional safe guards, including requiring a specific Origin and strict CORS using custom CORS policies.

Make sure to add rate limiting - based on user or maybe IP (for anonymous use case).

Event Streaming (data-only server-sent events)

OpenAI supports event streaming, this is easy to get working with Zuplo and works out of the box. You can try this by adding a stream: true property to your POST to OpenAI:

curl https://open-ai-main-298dc8d.d2.zuplo.dev/v1/my-completions \
-H 'Content-Type: application/json' \
-d '{
"model": "babbage",
"prompt": "Say this is a test",
"max_tokens": 7,
"temperature": 0,
"stream": true
}'

However, what if you want to support EventSource in the browser? That is easy to accomplish with Zuplo also by taking the incoming GET request created by EventSource and translating it into a POST request, with the appropriate headers and body inside Zuplo.

tip

Event streaming doesn't work fully on 'working-copy' but works great on your 'edge deployments'. Read more about environments to promote to an edge deployment.

Create a new route:

  • Summary: My OpenAI Completions for Browser Event Source
  • Path: /v1/my-browser-completions
  • Method: GET
  • CORS: Anything Goes
  • Handler: URL Rewrite - https://api.openai.com/v1/completions

Add the following policies

  • Reuse your Set Header policy that sets the authorization key above.
  • Add a Change Method policy to update the request to be a POST
  • Add another Set Header policy to set the content-type header to application/json
  • Finally, add a Set Body policy with the following configuration.

Policies

{
"export": "SetBodyInboundPolicy",
"module": "$import(@zuplo/runtime)",
"options": {
"body": "{ \"model\": \"babbage\", \"prompt\": \"Say this is a test\", \"max_tokens\": 7, \"temperature\": 0, \"stream\": true }"
}
}

You can now use an EventSource in a browser and call Zuplo as follows

const evtSource = new EventSource(
"open-ai-main-298dc8d.d2.zuplo.dev/v1/my-browser-completions"
);

evtSource.onmessage = (evt) => {
if (evt.data === "[DONE]") {
console.log("end of event stream...");
return;
}
console.log(JSON.parse(evt.data));
};

You could also make the POST body dynamic, based on a querystring in the EventSource - you would then read the querystring values in a custom policy and set the body based on values in the querystring (you would no longer need the Set Body policy in this case).

The custom code (inbound policy) might look like this

import { ZuploContext, ZuploRequest } from "@zuplo/runtime";

export default async function (
request: ZuploRequest,
context: ZuploContext,
options: never,
policyName: string
) {
const prompt = request.query.prompt;

// perform any appropriate validation on `prompt` here

const data = {
model: "babbage",
prompt, // pass the query value in here
max_tokens: 7,
temperature: 0,
};

return new ZuploRequest(request, {
body: JSON.stringify(data),
});
}